Getting started with Textbox.io is super easy. In this guide you will invoke Textbox.io on a <textarea> as part of an HTML <form>. When the <form> is submitted, the contents of the Textbox.io editor will be submitted as part of the <form> POST.
To complete this guide, you will need access to a web server. This guide assumes a web server is running on port 80 on localhost.
Step 1: Download a copy of Textbox.io and put it on a web server
- Download the Textbox.io SDK from Tiny.
- Unzip the package and open the textboxio-all or textboxio-client directory.
- Move the textboxio subdirectory into a web accessible location on your web server (for example, localhost).
Step 2: Add Textbox.io to a page
With Textbox.io accessible via your web server, you can now include the Textbox.io script anywhere you would like to use the Textbox.io editor.
To add the script, add the following inside your page’s <head> tag.
<script src="http://YOUR-DOMAIN/YOUR-DIRECTORY/textboxio/textboxio.js"></script>
Step 3: Invoke Textbox.io as Part of a Web Form
With the script included, you may then invoke Textbox.io on any element (or elements) in your webpage.
Textbox.io lets you identify elements to replace via a CSS3 selector. To add Textbox.io to a page you pass a selector to textboxio.replace().
In this example, you will replace <textarea id="mytextarea"></textarea> with a Textbox.io editor by passing the selector '#mytextarea' to textboxio.replace().
<!DOCTYPE html>
<html>
<head>
	<script src="http://localhost/textboxio/textboxio.js"></script>
</head>
<body>
  <h1>Textbox.io Getting Started Guide</h1>
  <form>
    <textarea id="mytextarea"></textarea>
    <button type="submit">Submit</button>
  </form>
  <script type="text/javascript">
    var editor = textboxio.replace('#mytextarea');
  </script>
</body>
</html>
For the best user experience, it is recommended that the HTML5 doc type is set.
<!DOCTYPE html>
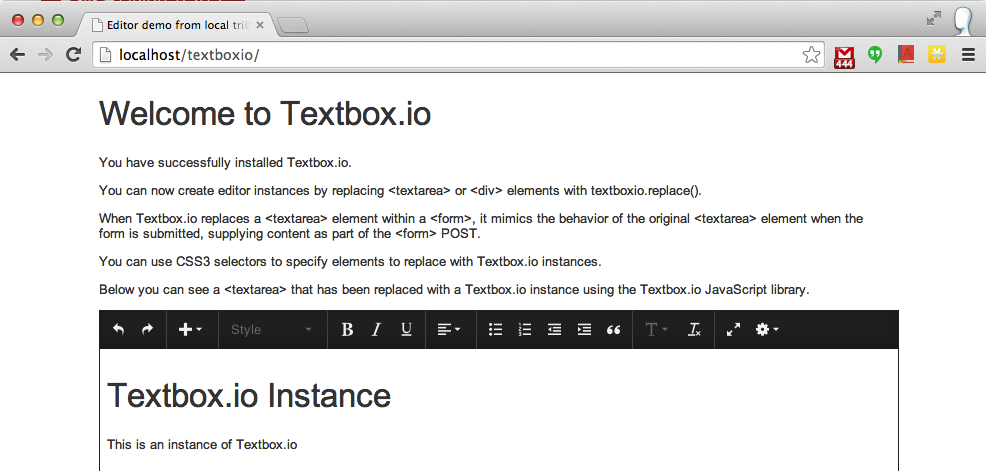
Try it:
You’ve added Textbox.io to the page - that's all there is to it!
Next, we'll look at retrieving content as part of a <form> POST.
Step 4: Saving Content with a <form> POST
When the form is submitted, the Textbox.io editor mimics the behavior of a normal HTML <textarea> during a form POST. No additional configuration is required.
What's Next
At this point, you've seen how to create Textbox.io instances on a page using textboxio.replace(), and you've seen how to retrieve content from Textbox.io as part of an HTML <form> POST. There's way more under the hood if you're feeling adventurous: read on for more Textbox.io goodness:
- Editor types - Classic vs Inline - Learn about the 2 modes of editing supported by Textbox.io, and decide which works best for you
- API Basics - Learn the basics of using the editor API, such as getting and setting content in the editor.
- Customizing the Editor - Learn how to configure and customize Textbox.io for your applications.
- Customizing the User Interface Colors - How to change the appearance of Textbox.io
- Working with Images - Learn how to work with images for image editing and local image upload.
- API reference