Overview
EditLive! provides a tool for applying accessibility mappings to table cells. For more information on how table accessibility mappings work, review the View Table Header Mappings help article.
Using the Apply Accessibility Mappings Functionality
Applying accessibility mappings is a 4 step process.
Step 1: Select the cell you wish to become a header cell. This cell can already be a header cell.
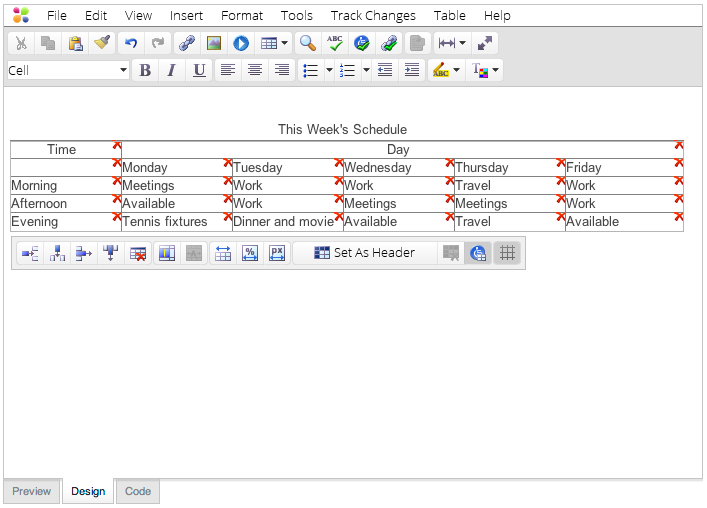
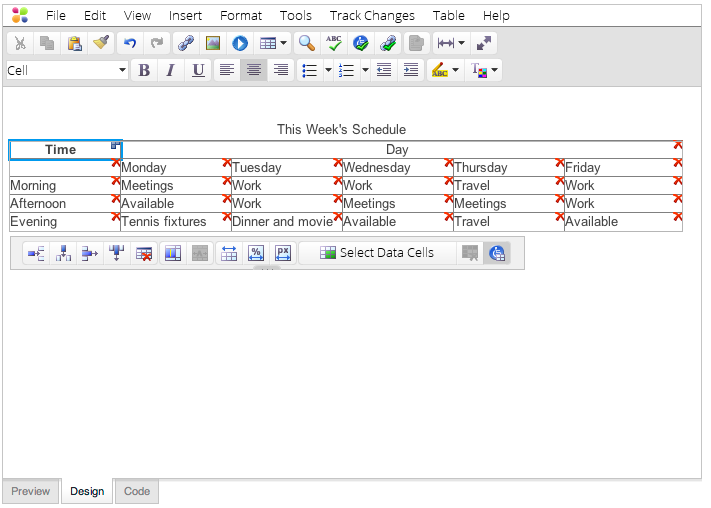
Step 2: Click the Set As Header button on the floating table toolbar. This will highlight the cell with a blue border.
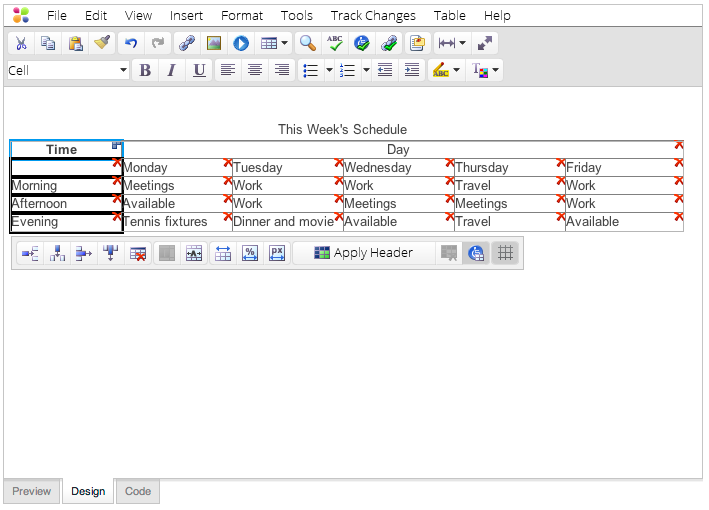
Step 3: Select the desired cell/cells you wish to become data cells. A single cell can be selected by clicking in it. Multiple cells can be selected by dragging the mouse.
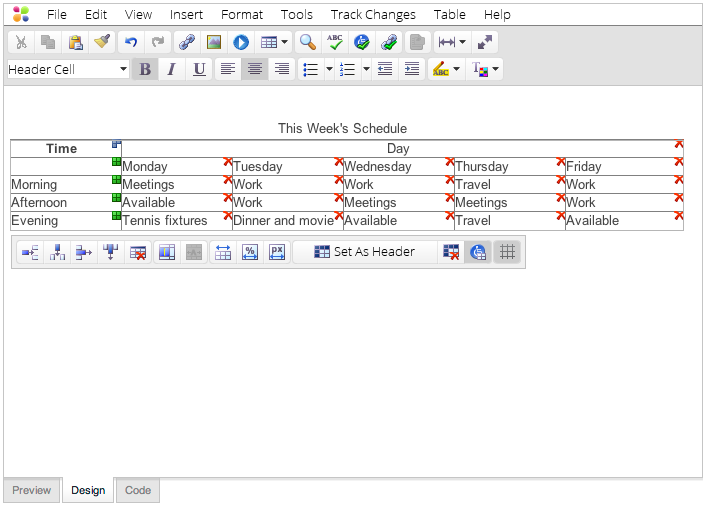
Step 4: Click the Apply Header button. This will apply an ID attribute to the selected header cell and headers attributes to the selected data cells.