This document outlines the steps needed to install the Web component of the Tiny EditLive! development suite.
Installation Details
After installing EditLive! on a Windows machine running IIS (by unzipping the editlive.zip file), the next step is to map a virtual directory for EditLive!.
To map a virtual directory you will need to follow the steps below:
- On the Start menu, in Settings, go to Control Panel. Double-click on Administrative Tools and then Internet Services Manager.
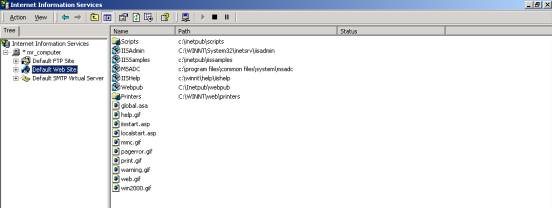
- Expand the tree next to your Computer Name.
- Select Default Web Site.

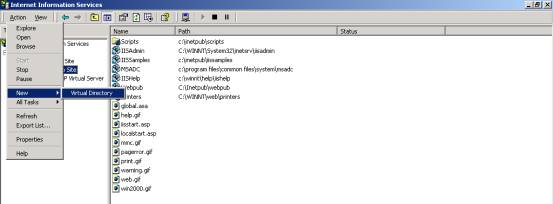
- From the Action menu, select New > Virtual Directory.

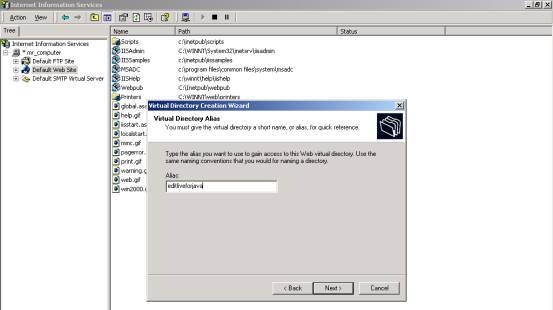
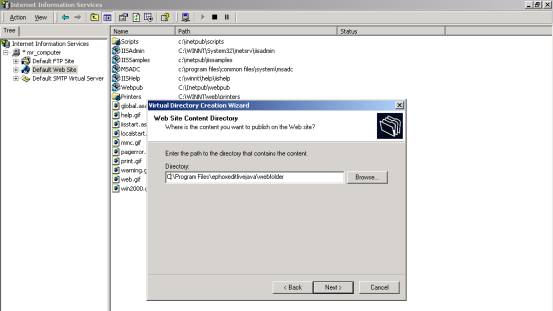
- Follow the Virtual Directory Creation Wizard.
- In the Alias field, on the Virtual Directory Dialog, enter editlivejava.

In the Directory field, on the Virtual Site Content Directory Dialog, enter the location EDITLIVEINSTALL\webfolder, where EDITLIVEINSTALL is the location where EditLive! is installed (e.g. "C:\Program Files\Ephox EditLive!\webfolder").

- Leave the default selections on the Access Permissions dialog. The Read and Run Scripts check boxes should be selected.
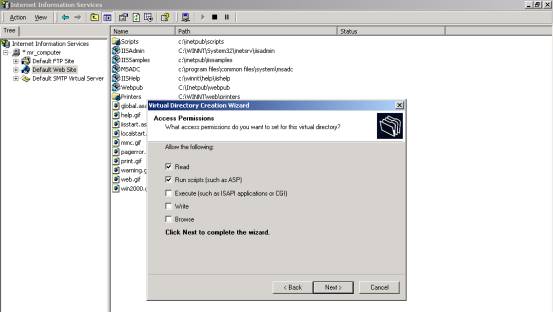
- Click Next, followed by Finish, to exit the wizard.
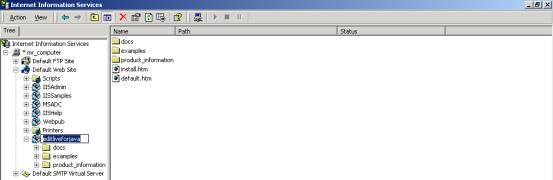
To check the installation process has been completed correctly:
- Open a Web browser.
- In the IIS snap-in, in the webfolder directory you just created, right-click on default.htm.
- Select Browse.

You should see the Tiny EditLive! Web component home page within the Web browser. If so, you have successfully installed EditLive! and customized your system correctly.
Once You Have Successfully Installed Tiny EditLive!
You can now start using Tiny EditLive!.
If you are using a Web server on your machine to serve the EditLive! SDK then you may use a Web browser to see examples. Direct your browser to: http://localhost/editliveWebfolder where editliveWebfolder is the name of the virtual directory in IIS.