General Upgrade Procedure
To upgrade to a new release of the Tiny integration into WCM, perform the following steps:
- If you have made changes to sample_eljconfig.xml or customFunctionality.jsp in order to use role based configurations, you'll need to back up these files by copying them to a location outside of your EditLive! installation.
- Follow the first step of the Installation Instructions (extract the zip file).
- Merge any changes you made from sample_eljconfig.xml or customFunctionality.jsp into the copy of those files in the newly extracted folder.
Step 1 - Update the EAR file
The server running WebSphere_Portal needs to be started before you begin the update process.
Load up your web browser and login to the WebSphere Application Server. This is a seperate service running on your webserver. The port for this will vary based on your server and WebSphere Portal version. In a standard installation the urls for the console will be:
WebSphere Application Server 6.1 https://\[server\]:9043/ibm/console
WebSphere Application Server 7.0 https://\[server\]:9043/ibm/console
After logging in to the console, you will be able to install the application following the process below.
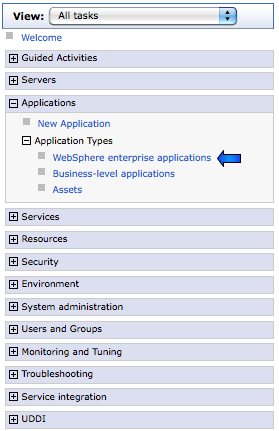
- Navigate to Enterprise Applications in the console. To do this, click on WebSphere enterprise applications link.
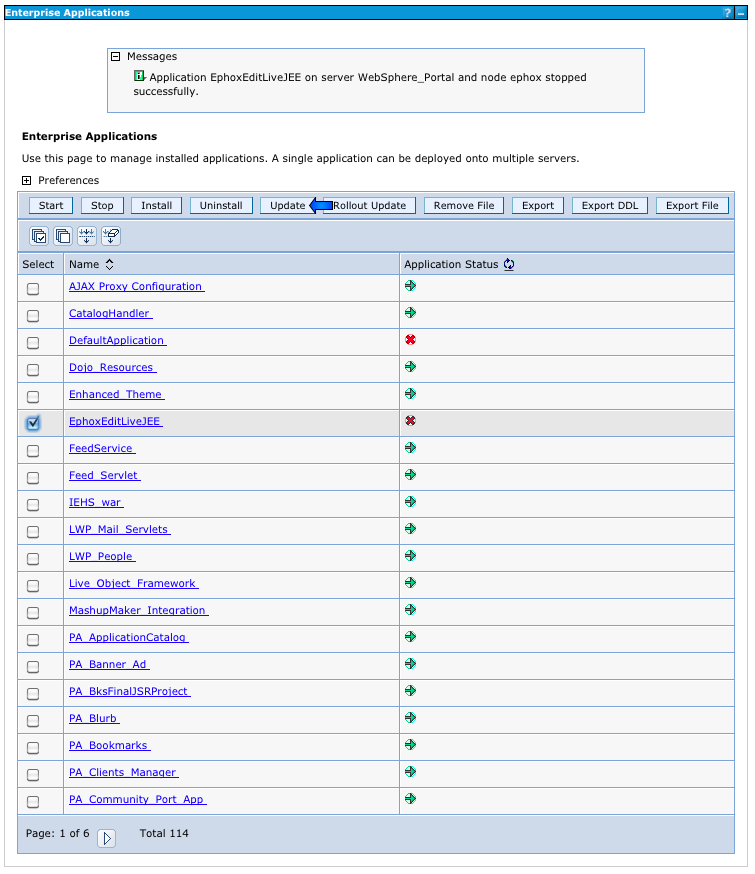
- A list of installed applications will be displayed. Select the "EphoxEditLiveJEE" application from the list and press the "Stop" button.

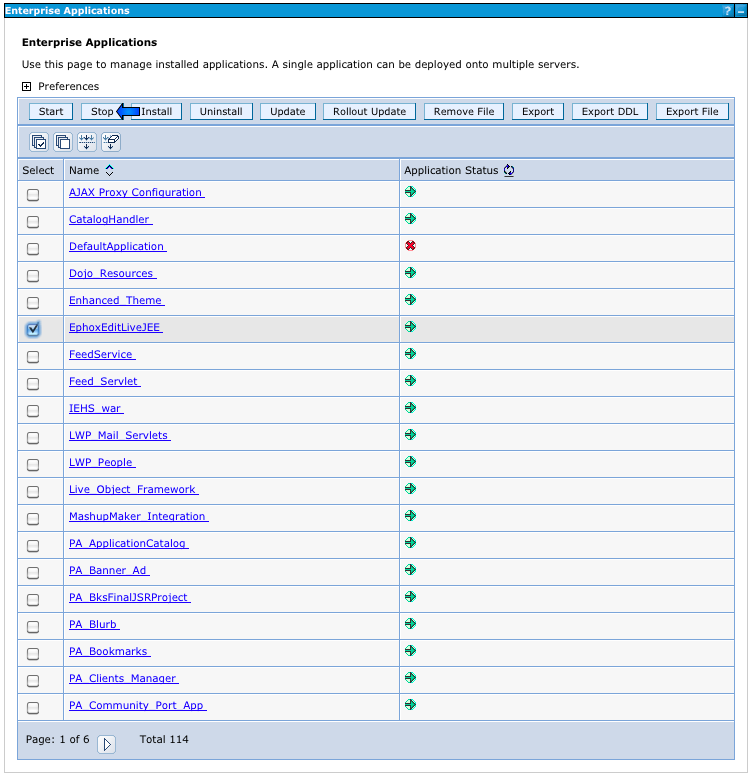
- The page will reload and EphoxEditLiveJEE will now display an X in its "Application Status." Select this application again and press the "Update" button.
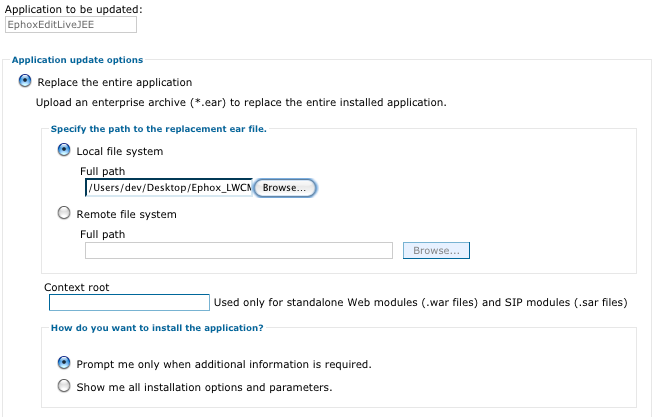
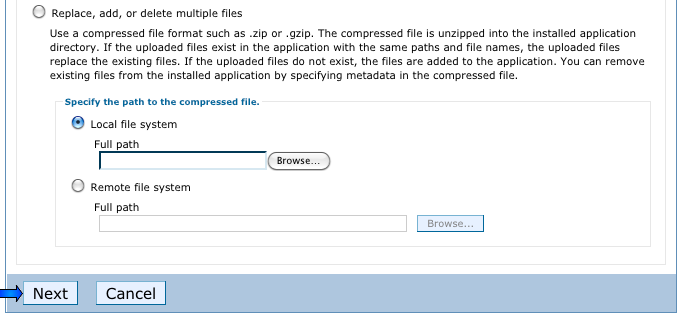
- The next page will provide a list of application update options. The first of these is "Replace the entire application." Ensure that this option is selected and then specify the path to the latest version of the EditLive! ear file, which can either be on a local or remote file system.

- After you have finished the "Replace the entire application" section, navigate to the bottom of the page and choose "Next".

- From this point on, installation can be completed by following Step 1 of the Installation Instructions, starting from point #4. Please note that you will not be asked to "map virtual hosts for web modules," as this carries over from the original installation.
- Once you have finished installation, you will need to make the changes described below.
Upgrading from EditLive! for WCM version 3.x to 4.x
The new version makes some key changes to config files and locations. You will need to make some changes when upgrading.
Config folder location
The ephox.config.properties and all config xml files now reside in: /res/configs under the EphoxEditLiveJEE ear folder on the server. Previously, they were in /res/editlivejava.
Role Based Config Properties File format
Previously, there was some confusion regarding how to specify role-based configurations for users/groups with spaces in their names. As such, the integration has changed so that you enter the user/group name verbatim, including any spaces or underscores.
e.g. to specify a config for the group "Content Authors", use the following line: config.group.Content Authors=contentauthors.xml
e.g. to specify a config for the user named "John Smith", use the following line: config.users.John Smith=johnny.xml
e.g. to specify a config for the group named "sys_admins" use the following line: config.group.sys_admins=sysadmins.xml
While this format isn't valid in a typical "java properties" file, it is valid for this config file.
EAR file deployment
Note that this version of EditLive! for WCM is deployed as an "ear" file (Enterprise Archive). Please see the Installation Instructions for more details.
setBackgroundMode plugin and ECM functionality
The new "Insert ECM Link" function displays an IBM-provided dialog box for inserting content from an ECM repository. To enable this functionality you need to make two changes to your config file(s):
Add the following line inside the <menu name="ephox_insertmenu"> tag:
<menuItem name="iwwcmecmlink" action="raiseEvent" value="Ephox.EditLive.WCM.insertEcmLink"/>
Add the following line inside the <plugins> tag:
<plugin name="setBackgroundMode" />
These changes have already been applied to sample_eljconfig.xml.
ECM linking is only available in IBM WCM 6.1.5 and later.
The standard/OEM version of EditLive! that is bundled with WCM has a similar menu item, but the <menuitem> tag is different.