Overview
EditLive! provides controls and rendering to allow you to easily review changes made to your rich content. The changes include content inserted, deleted and modified by yourself and any other users who have edited the rich content.
How Track Changes Works
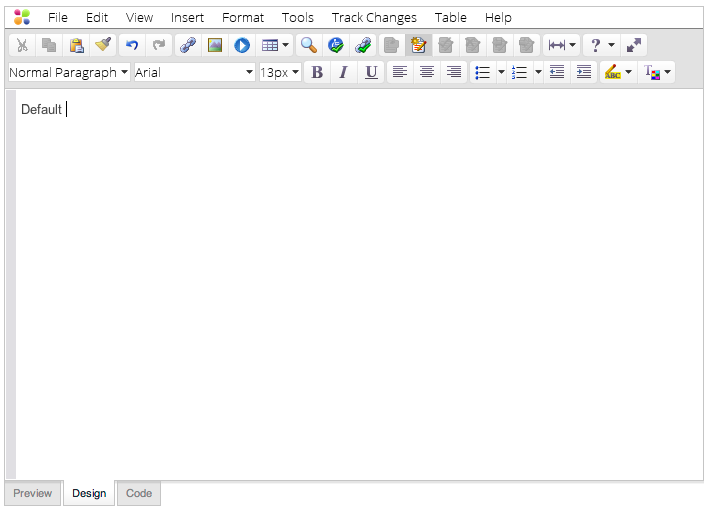
When editing content normally in EditLive!, the content will appear in the editor as it will appear when published.
Example
The following screenshot shows EditLive! with the content 'Default document content'. An extra string in bold and italic has been added ('extra string added').
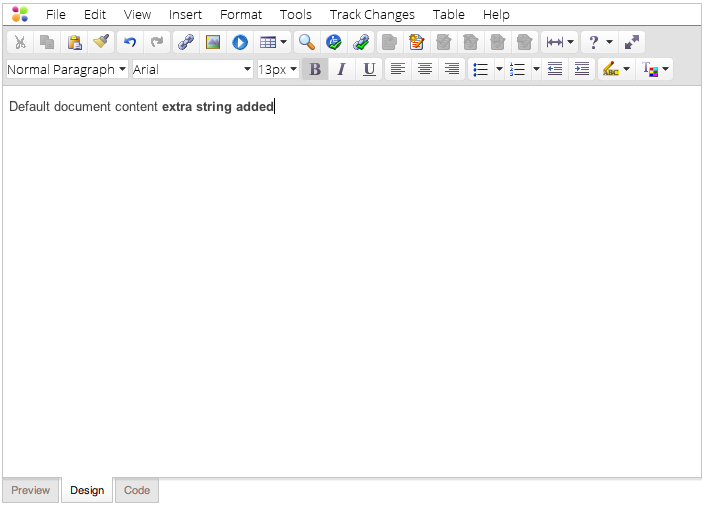
This content would appear as follows if saved as a .html webpage.
When editing content with track changes enabled, changes made will render in a different color. This allows you to easily identify which changes have been made to your content.
Example
The following screenshot shows EditLive! with the content 'Default document content'. Track Changes is then enabled in the editor and an extra string in bold and italic is added ('extra string added').

This content would appear as follows if saved as a .html webpage. The blue coloring is only used in EditLive! to help identify what changes have occurred.
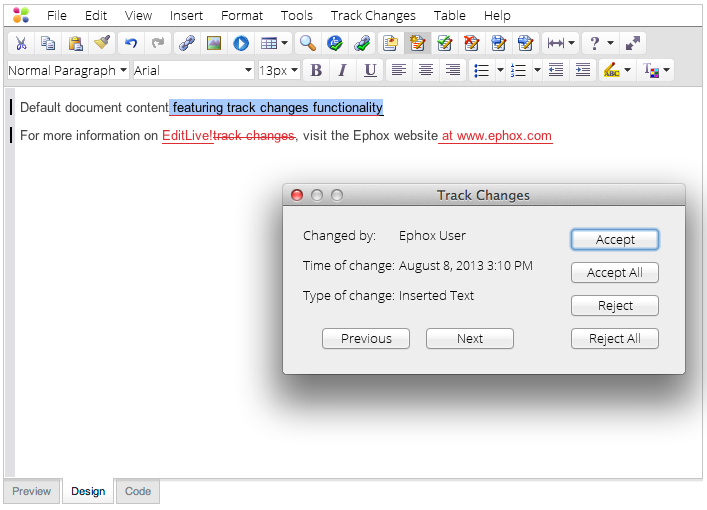
The track changes functionality for EditLive! uses unique color rendering for each user of your system to display any content the user has created, deleted or modified.

Content by 'user 1' has been rendered blue, while content by 'user 2' has been rendered red.
You can hover over specific changes to view:
- Which user made the change.
- What type of change occurred.
- What time the change occurred.

Displaying content created by 'Ephox User'.
EditLive! provides easy to use controls for reviewing these individual changes and deciding which changes should remain and which changes should be undone.
Enabling/Disabling Track Changes
When EditLive! first loads, the track changes functionality will either be enabled or disabled based on settings specified by your Systems Administrator.
You can however enable/disable the track changes functionality manually using one of the following 3 methods:
- Menu Item
- Toolbar Button
- Keyboard Shortcut
Menu Item
The  Enable Track Changes/Disable Track Changes menu item toggles enabling or disabling track changes. This menu item is located under the Track Changes menu.
Toolbar Button
The toolbar button toggles enabling or disabling track changes.
Keyboard Shortcut
The track changes functionality can be toggled on and off by simultaneously pressing CTRL + SHIFT + E.
Setting the Current Username
With track changes enabled, all changes you make in the content are logged against your defined user name.
Your user name is defined in one of the following ways:
- Your Systems Administrator has already configured EditLive! to automatically load your user name.
- When track changes is first enabled, you will be prompted to enter your user name.
If you want to manually change your username at any point in time, you can use the Set Current User... menu item located under the Track Changes menu.
Accepting/Rejecting Tracked Changes
Any tracked changes to the contents of EditLive! can be accepted or rejected.
Accepting Changes
Accepting a change means the selected change is retained in the content and no longer displayed as a change (i.e. the content is no longer rendered in a unique color and hovering over the content no longer displays change information).
Example
The following screenshot depicts a line of content in EditLive! with the text new text added inserted in the middle.

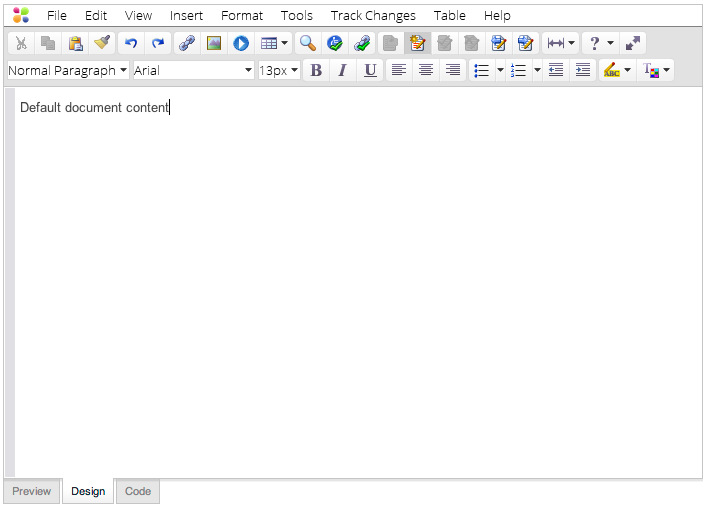
Accepting this change would cause the text new text added to be merged with the document.

Example
The following screenshot depicts a line of content in EditLive! with the text document content deleted from the end.
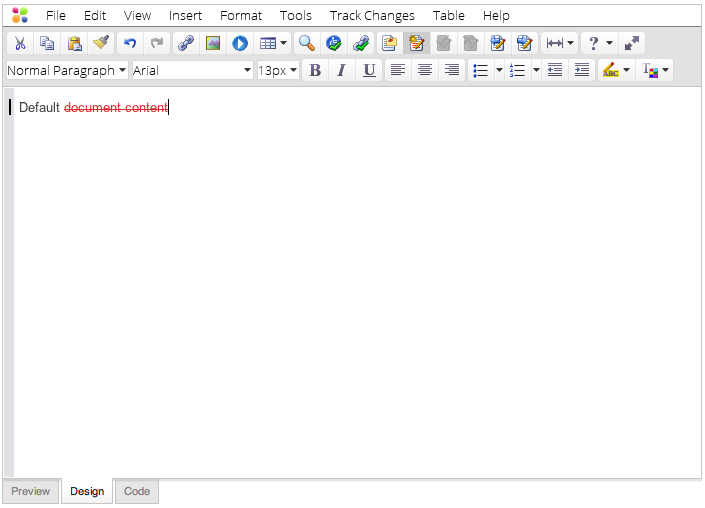
Accepting this change would cause the text document content to be removed from the document.
Once you have selected a desired change, you can accept the change using one of the following methods:
- Menu Item
- Toolbar Button
Menu Item
The  Accept menu item will accept the currently selected change. This menu item is located under the Track Changes menu.
Toolbar Button
The toolbar button will accept the currently selected change.
To accept all changes in your EditLive! content, use the Accept All Changes menu item located under the Track Changes menu.
Rejecting Changes
Rejecting a change means the selected change is removed from the content. Rejecting a change is equivalent to undoing the specific change.
Example
The following screenshot depicts a line of content in EditLive! with the text new text added inserted in the middle.
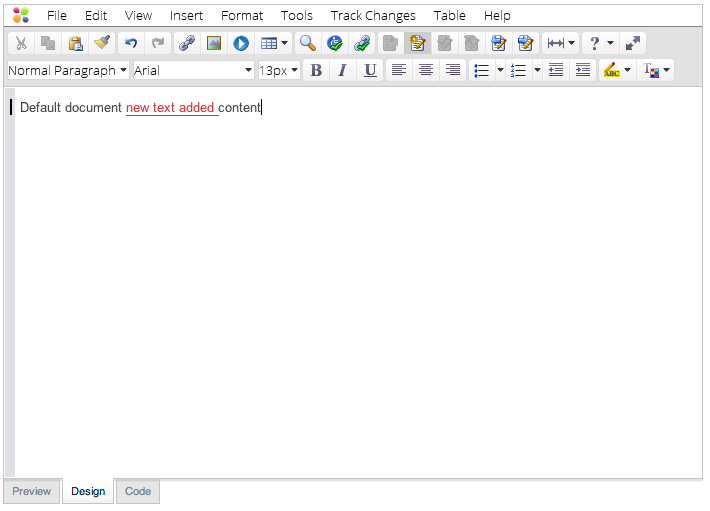
Rejecting this change would cause the text new text added to be removed from the document.

Example
The following screenshot depicts a line of content in EditLive! with the text document content deleted from the end.

Rejecting this change would cause the text document content to be retained in the document.
Once you have selected a desired change, you can reject the change using one of the following methods:
- Menu Item
- Toolbar Button
Menu Item
The  Reject menu item will reject the currently selected change. This menu item is located under the Track Changes menu.
Toolbar Button
The toolbar button will reject the currently selected change.
To reject all changes in your EditLive! content, use the Reject All Changes menu item located under the Track Changes menu.
Selecting Changes
Specific changes can be selected (in order to accept or reject the change) by using the following methods:
- Clicking in the Desired Change
- Menu Items
- Toolbar Button
Clicking in the Desired Change
Clicking in a change will allow you to accept or reject this change. Once clicking in a change, you'll notice the accept and reject toolbar buttons and menu items because available for use.
Menu Items
The  Previous Change menu item will select the previous change in your content.
The  Next Change menu item will select the next change in your content.
Toolbar Buttons
The toolbar button will select the previous change in your content.
The toolbar button will select the next change in your content.
Reviewing Changes
The Review Changes... menu item (located under the Track Changes menu) provides a method for moving between each change in the document. Once a change is selected, you can use the dialog provided to accept or reject the change.